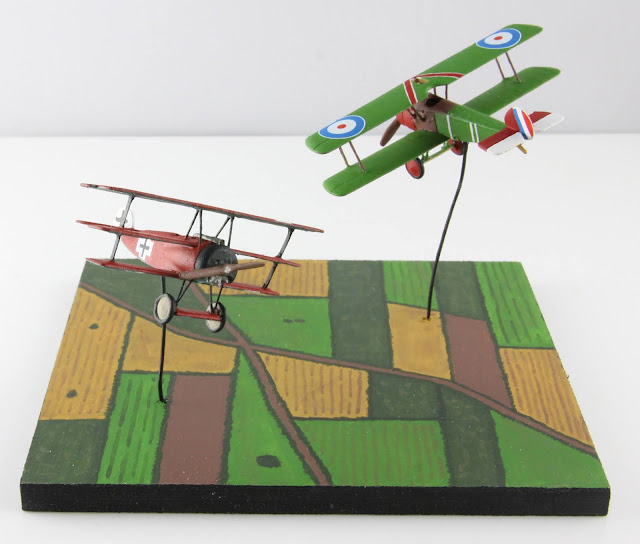
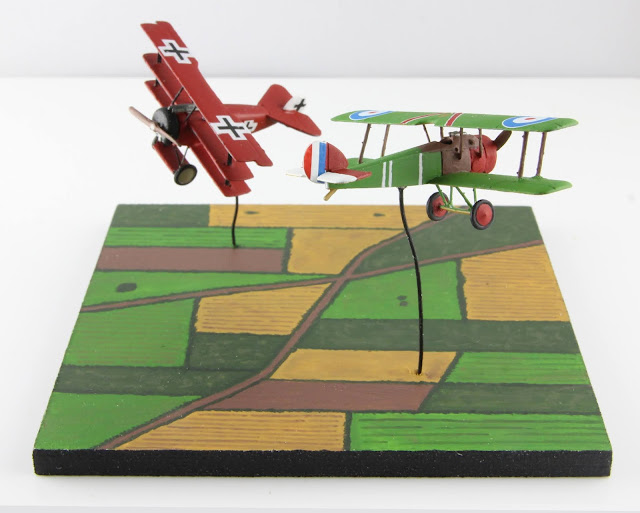
It’s time to show off the finished diorama! I was a bit worried about this one, as I had never made something this small before. I’m really happy with how it turned out though. The decals went on without a problem apart from the tiny balkenkreuze on Von Richthofen’s Fokker, so in the end I just painted these on by hand. No decals were provided for the white lines on the fuselage and the white-red V on the upper wing of Brown’s Sopwith Camel, so I painted those by hand as well. The finished models were then given two thin coats of matte varnish to blend in the decals with the paint job. After drying the planes were glued to their wire bases with a tiny drop of super glue and then the wires were painted black. Job done!
Time for some more simple 40k scenery: craters and rubble piles. Both are pretty easy projects and pretty quick too, if unlike me you plan out your work a little so you don’t need to continuously correct your mistakes along the way! For the craters, I started with two old writeable dvd’s. I first closed off the central holes with mdf miniature bases. I then broke off semi-triangular wedges of cork from a pan coaster and hotglued these to the dvds, forming circles (see the picture below). I then applied wall filler to the craters to hide the mdf circles covering the central holes and to add some texture to the cork. I then glued smaller bits of cork in between the larger wedges and added coffee grounds for texture. After this step I noticed that the cork wedges didn’t look very natural. Tapering them off made them look a lot better (picture below). I then gave everything a coat of black paint: I still thought the craters didn’t look quite right, though. They were a bit too uniform ...


Comments
Post a Comment